Dikuasakan oleh Blogger.
RSS

Majolica Dimensional Decoupage

The name majolica was derived from Majorca, the port from which majolica originally was traded. In the 13th century, during the Renaissance, a small town in Umbria called Deruta, made use of the special clay from the Umbrian hills to establish itself as the center for the production of majolica and Italian pottery. The clay is formed, dried and fired for the first time. The cooled form is dipped into a mineral oxide bath, creating a white opaque background on which the designs may be painted. The painted form is fired a second time, for up to 24 hours.


Instructions:


1) Mix 2 parts glue and 1 part water in a disposable cup. Tear tissue paper in 1”-2” pieces. Cut green and turquoise tissue leaves. Set aside. Prepare your work surface with a sheet of wax paper.


2)Cut Styrofoam balls in half. To shape a lemon, cut Styrofoam egg in half. Pinch and shape Styrofoam ends. Paint the ball half with glue and water mixture. Lay a piece of tissue paper on wet glue, then brush more glue mixture on top. Continue adding and overlapping tissue paper until the ball half is covered.

3)Place tissue-covered Styrofoam on wax paper sheet. Make apples and grapes the same way.
Measure and lightly mark board center. Cut out oval pattern. Lightly pencil oval on board. Cut the ‘Welcome’ sign from pattern, or create your own lettering for your sign.

4)Cut out rectangle and mark center. Decoupage on center of board with glue mixture.
Brush glue and water mixture on a portion of the board oval border. Lay a piece of yellow tissue paper on wet glue, then brush more glue on top. Continue adding and overlapping tissue paper until the yellow tissue border is completed. Tissue paper will extend beyond the foam board edges. This will be trimmed away when the tissue has dried.

5)Arrange and decoupage tissue leaves on board. Apply full-strength glue from bottle on the flat side of Styrofoam fruit. Arrange fruit on board. When glue dries, add swirls with a permanent marker. Trim away excess tissue paper from border edge.


by: Patty Cox

  • Digg
  • Del.icio.us
  • StumbleUpon
  • Reddit
  • RSS

BUTTERFLY MOBILE


Instructions:

1. Trace and cut one large butterfly from yellow craft foam. Apply glue to one side of butterfly and press, centered on orange craft foam. Let dry. Cut out around edges of yellow butterfly.
2. Trace and cut remaining patterns from craft foam. Cut as follows:

1 small butterfly – orange
2 pattern #1 – orange
2 pattern #2 – orange
1 small butterfly – bright pink
2 pattern #3 – bright pink
1 butterfly body – black (use paper edgers)

3. Draw details on yellow side of large butterfly and both sides of small butterflies with black marker.
4. Drill one hole ¼” from edge on each end of jumbo craft stick. Punch a hole in either end of black craft foam butterfly body. Apply glue to one side of jumbo craft stick and apply black craft foam body, lining up the holes on either end. Glue remaining craft foam shapes and assorted colored pony beads to yellow side of butterfly. Glue a line of black pony beads down the center of the two small butterflies. Let dry.
5. Fold down 7” on one end of orange craft lace. Tie together in knot 6” from fold. String craft lace from front to back through top hole, then back through bottom hole. String bright pink butterfly and one black pony bead. Tie bead in place. String orange butterfly in same manner. String remaining pony beads on end of craft lace. Tie jingle bell on bottom.


  • Digg
  • Del.icio.us
  • StumbleUpon
  • Reddit
  • RSS

CAPAN PELEPAH PISANG

Hehehehehe.. ni method lma dh kan... sure dlu2 kita smua dh blajaq capan pelepah pisang nih.. Shingga kini masih lg method yg sma.. tp klau tak buat students xtau pulak.. kita je dh biasa buat, tp dorg ni 1st time... apapn... dorng sumer enjoyyy.....


  • Digg
  • Del.icio.us
  • StumbleUpon
  • Reddit
  • RSS

LANGUAGE ARTZ - ENG KSSR YR 1

~ANIMAL BOOKMARK~
Dah sampai topic nk buat bookmark dlm textbook. Punya la pkiaq camno nk buat ne, kayu aiskrin xdak.. last2 dapat idea... lipat je la kertas A4 pastu salotape. Siap la paper stick nya.. apapn, dlm kkurangan tu P&P totap bjalan juga dgn enjoynyer...


  • Digg
  • Del.icio.us
  • StumbleUpon
  • Reddit
  • RSS

Seni Tahun 1 - Capan Tapak Tangan

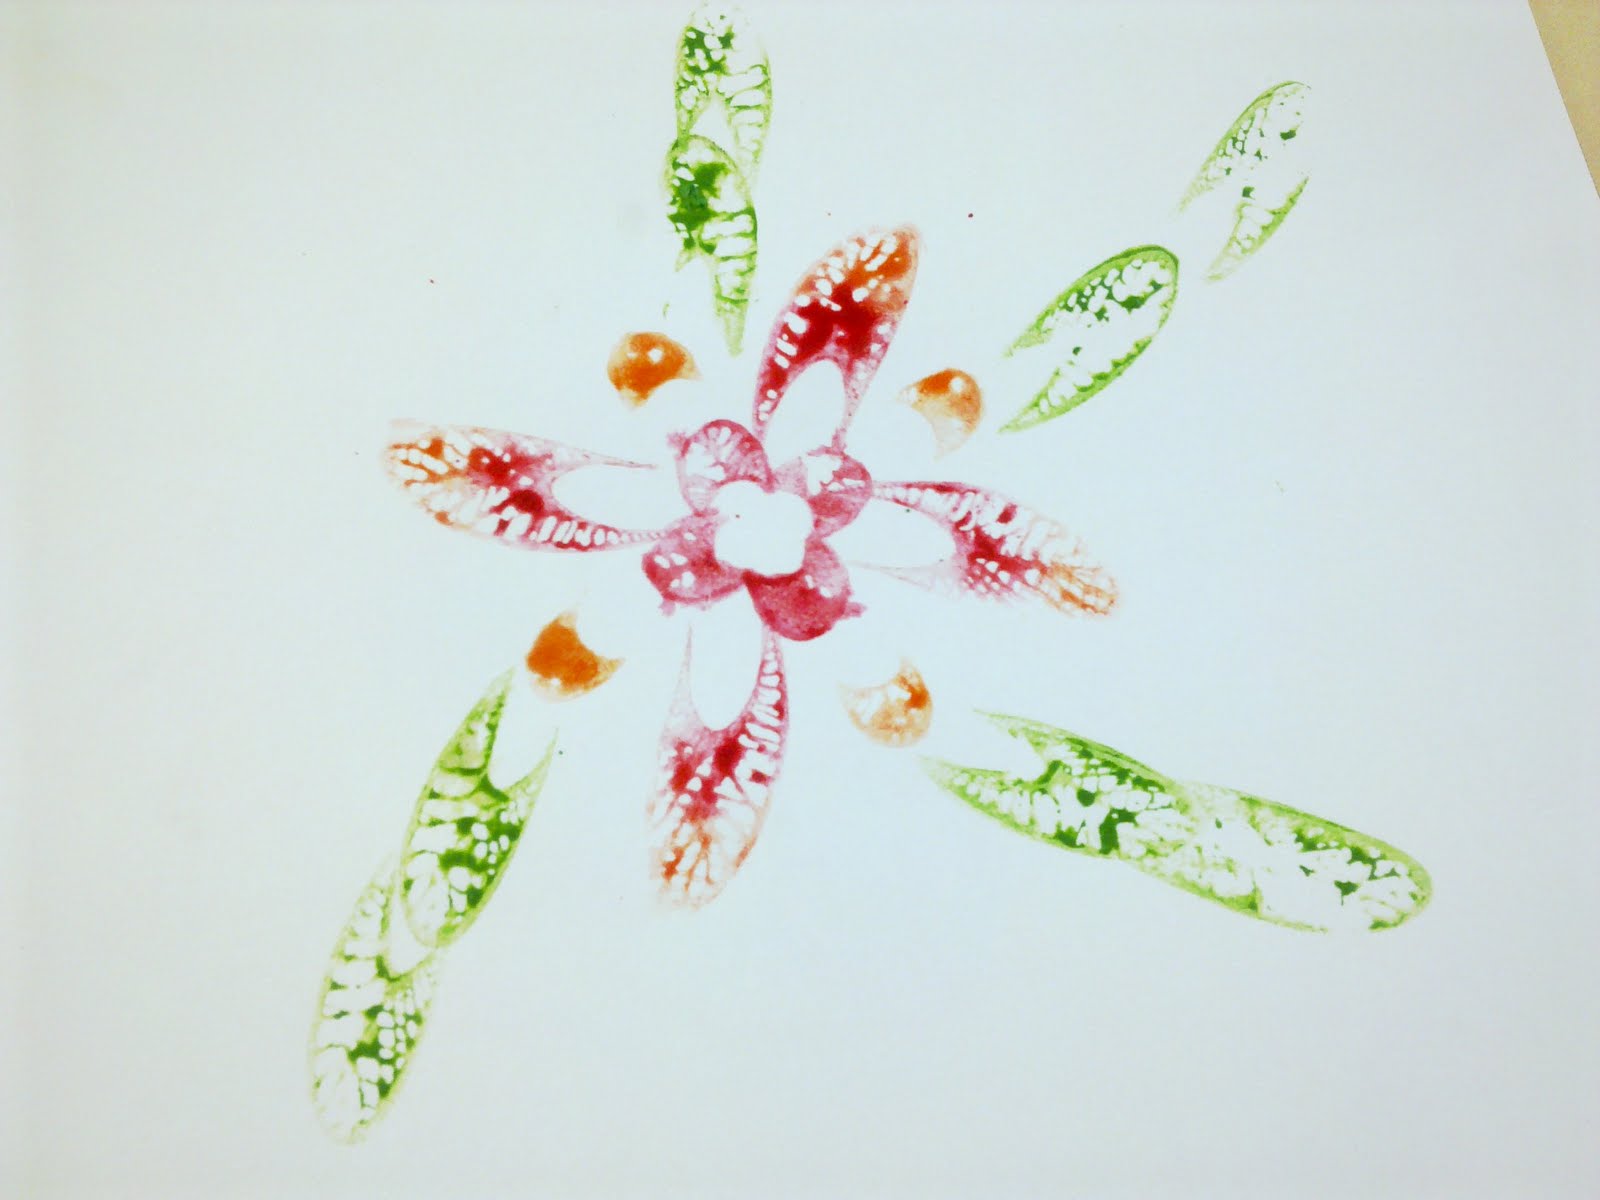
Sudah 2 bln kami melaksanakan KSSR seni utk tahun 1... Slalunya 1 month blajar buat garisan dan bentuk2.. pastu kna buat rumah... biasa la ikut modul kssr. Pastu... tgk2 je modul kna wat cap2 la plak... tp bebudak x bawak brg nk cap2.. aiseh... nk p kutip dedaunan dh tlewat la.. last skali, Teacher Ayn suruh je bbudak cap2 tgn dorg... kita dh slalu buat tp dorg xcited kemain la.. mngecap sakan.. & explore kaler2 yg ada...


  • Digg
  • Del.icio.us
  • StumbleUpon
  • Reddit
  • RSS

MOZEK SIPOT

P&P seni last week, teacher Inaz buat Mozek sipot.. P& P ini akn blangsung selama 2 minggu. Sb minggu ni bru wat sipot... next week, bru nk wat background umah sipot... enjoy..


Hasilnya:

Ne projek Teacher Ayn ngn budak Tahun 2.... Lebih kureng la jd nya nnti...


  • Digg
  • Del.icio.us
  • StumbleUpon
  • Reddit
  • RSS

Sabun... Oh ! Sabun...

Tadi aku tercari2 nk buat hobby yg baru ngn student aku... last week aku ada mmbeli akaq sintok. teringin la nk buat sabun sesgt nih... Disini aku ada pinjaman entry 1 buah blog nih.. Sis Lemak Masin... Sila jamu mata... u oll blh buat ngn student la... aku pun nk buat ngn dorg tak lma lg..


SABUN LYE

Bahan/raw material yg diperlukan

1. 1 botol larutan lye (sodium hydroxide)
2. 6 kampit + 650 ml minyak masak apa2 brand (kalu nk jimat kos,guna yg dalam kampit plastik cap roda terbang or cap tiga bulatan)
3. 1 botol 700 ml minyak klapa dara (VCO)
4. 95 ml pewangi
5. 1 camca pewarna (dilarutkan)


Bahagian 1 - Proses adunan

Masukkan 6 kampit + 650 ml minyak masak dalam mixer & start the mixer…then masukkan larutan lye perlahan-lahan, kna brhati-hati latutan ini memedihkan jika terkena kulit anda yg halus bak kapas tu…:p gunakan latex gloves as precaution…selepas kira2 30 saat masukkan VCO, then pewarna & akhir skali pewangi..biarkan semua adunan td diadun dalam mixer selama kira2 10 minit, depends kepada kelikatan adunan trsebut, kalu dah nmpak ala2 nk likat hentikan mixer…larutan lye ni mudah likat/beku, mandur@supervisor adalah arif utk menentukan bila masa yg ssuay utk stop mixer. Gambarajah di bawah menunjukkan proses tersebut..


Then, cedok adunan tadi dan masukkan ke dlm jug atau apa2 bekas yg sesuay, tuangkan kedalam acuan yg tersedia sepertimana gambarajah di bawah. Hati2 bila menuangkan adunan, pastikan cairan tidak melempah kluar & don’t forget auntie! Wear ur gloves ya…safety 1st


Selesai adunan dituang masuk ke dlam acuan, tutupkan acuan tersebut & pastikan tudungnya ditutup rapat2, jgn bagi pluang udara brkumpul dalam acuan tu..


Then masukkan acuan yg dah siap kedalam tray, susun cantik2 seterusnya tarok dalam chiller@freezer. Satu adunan lazimnya mhasilkan antara 110-120 ketul sabun mandi. Suhu freezer antara 0-10 degree Celsius…biarkan slama 24 jam dalam tuh

After 24 hours, kluarkan dari freezer letakkan atas meja & tanggalkan penutupnya satu persatu, kluarkan adunan yg beku dari acuannya…gunakan sebarang kaedah yg sesuay utk kluarkan dari acuan...samada kaedah kekerasan, diplomasi or gerila…jgn sakit jiwa! Ramai operator kilang tu mngeluh bila sampai tang bab nk kluarkan dari acuan ni, kna buat betul2, klau silap teknik sabun yg kluar tu x kan jadi bntuk yg cantik, sumbing sana sini, end up masuk bakul reject...cth dalam foto. Warna merah tu majoritinya reject sbb shape dah lari & kaler x skata, compared to the green ones adjacent to it…see?


Next, bila smua dah kluar dari acuan…tiba masanya untuk dibalut. Balut gunakan plastik nipis yg lazim kita nmpak caterer guna untuk kaver lauk-pauk seblom majlis santapan especially for VIP dalam official function/feast. Bila dh dibalut comey2 susun atas rak seblom dihantar ke Port Klang utk export...ehh ehh ewwah!

SUMBER: http://www.blogger.com/comment.g?blogID=11838711&postID=115745532079099307&page=1&token=1299057700142

p/s : surf this webpage for more info http://www.i4at.org/surv/soapmake.htm
~~~~~~~~~~~~~~~~~~~~~~~~~~~~


SABUN GLYCERIN

1) Potong bahan asas sabun kepada ketulan-ketulan kecil (GLYCERIN)

2) Letak dalam mikrowave dan panaskan dalam kuasa yang paling rendah selama beberapa min. (agak-agak la) kalau banyak ketulnya lama ler sikit. Kalau takde mikrowave boleh guna teknik double boil (cara macam nak cairkan/masak coklat)

3) Setelah cair tambahkan pewangi

4) Tambahkan pewarna

5) Kacau dengan rata

6) Tuang dalam acuan.

7) Spray sikit alkohol di permukaan sabun kalau ada bubble pada permukaan sabun tu

8).Biar selama beberapa jam

9) Keluarkan dari acuan dan boleh guna dah ...
GLYCERIN BOLEH DIBELI DI WEBSITE INI :


  • Digg
  • Del.icio.us
  • StumbleUpon
  • Reddit
  • RSS